Virtuo Vivo - ClearCorrect Workflow
Virtuo Vivo - ClearCorrect Workflow
Content by: Adrien Crouzet
Approved by: Clement Gross
Last update: 01/13/2023
1- ClearCorrect Login
When you create a ClearCorrect case, a log in window will popup.

You can also manually log in. To do so, open the Settings (1), go to the Export (2) tab and you can Log in with your credentials or create an account (3)

If the ClearCorrect is missing, you are most likely on the administrator account, switch to your user account.
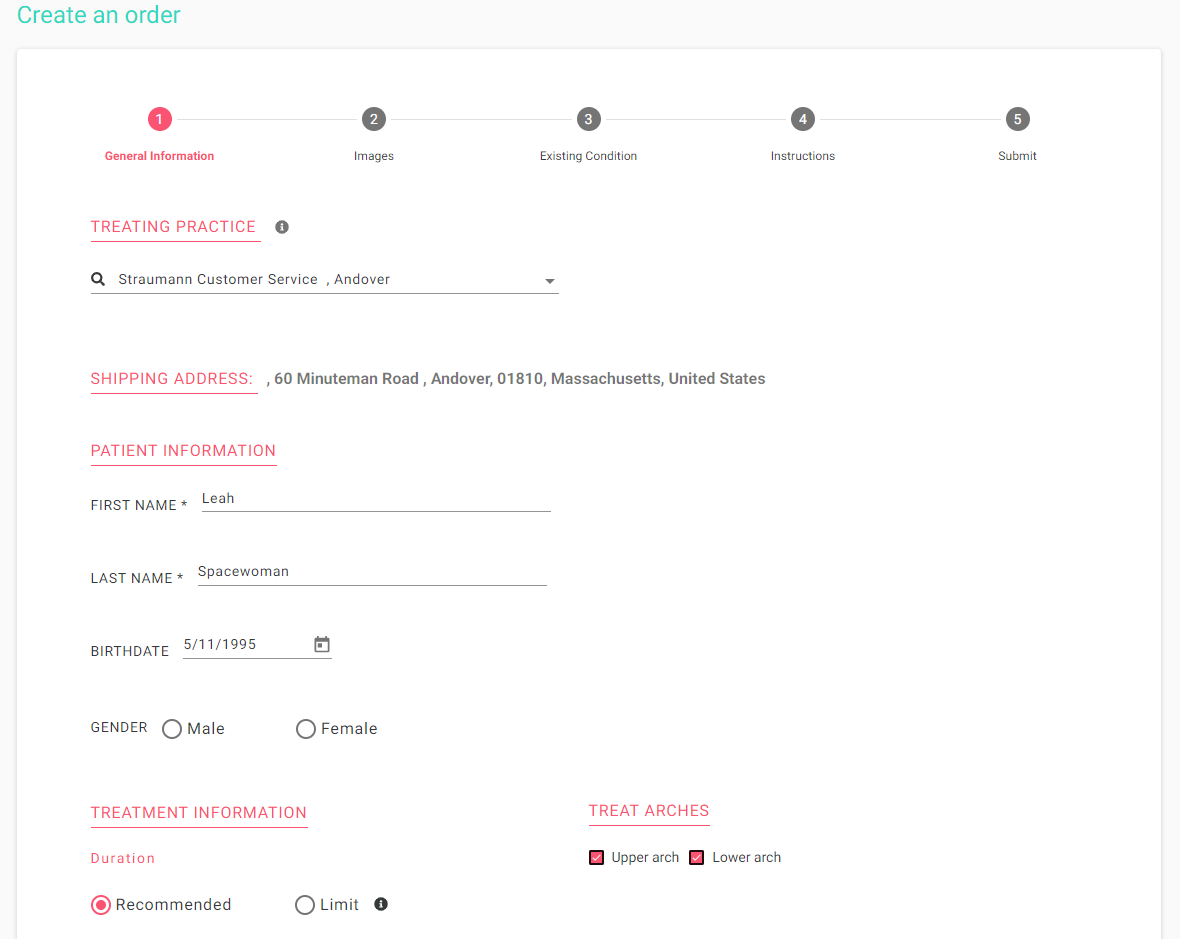
2- New ClearCorrect Case
Once your credentials are set, you can create a new case. Enter the patient's information, select treatment setup, and then click on Next.

3- Scanning
Scan both arches following our recommended scan path. Be sure to scan 3-4 mm of gingiva if possible (minimum of 2mm i required). Close all holes in the scan and trim the scan to remove any unnecessary data.

For the Bite, scan the posteriors of both sides without the anteriors.

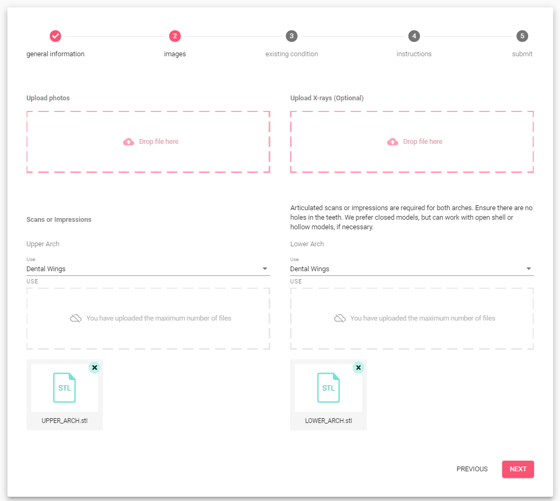
4 - Export
Review and Export your case.

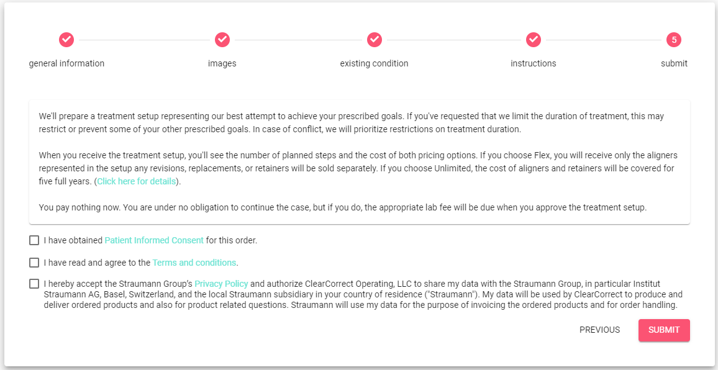
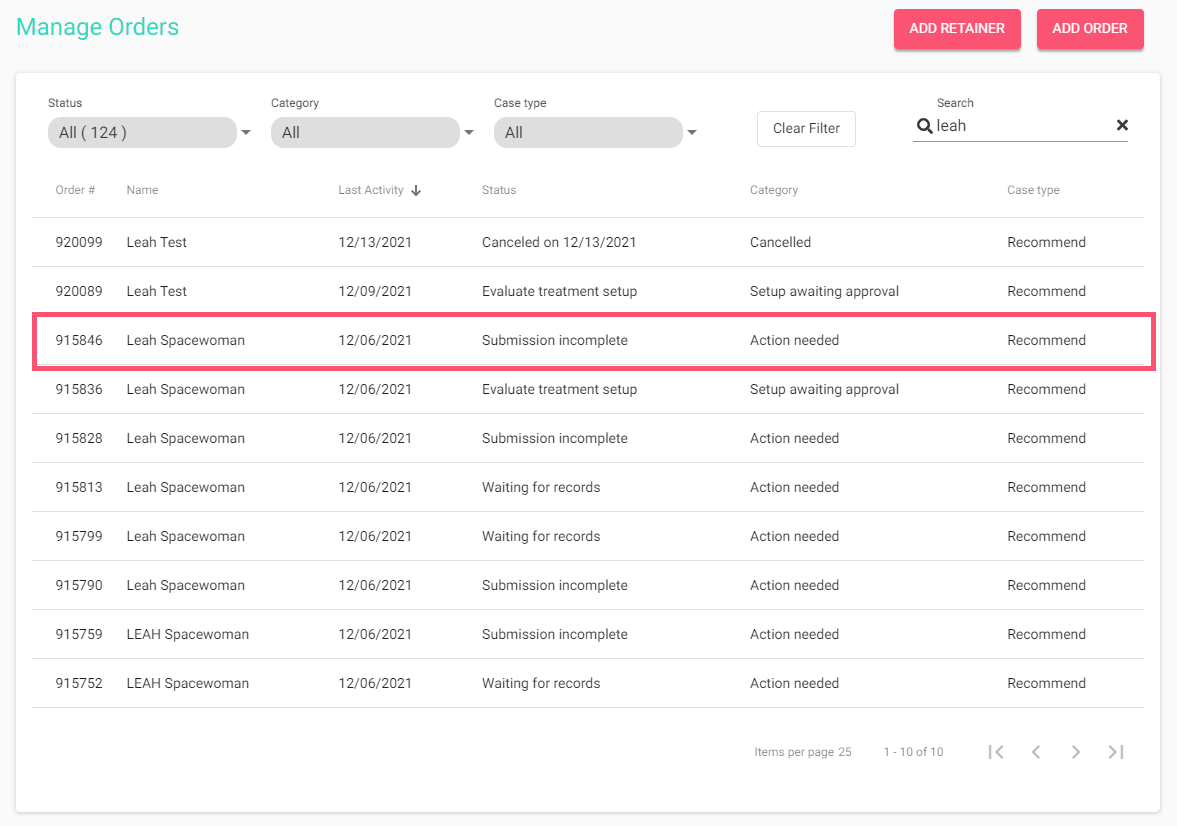
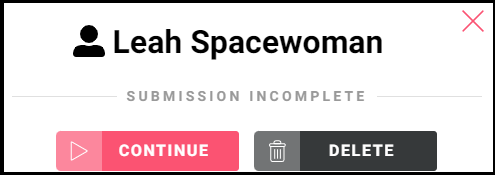
5 - Complete the Case Submission in the Doctor Portal
a. Login to the Doctor Portal and go to the Manage Orders page.

b. Click on the patient's case and click on the "Continue" button to complete the case submission.
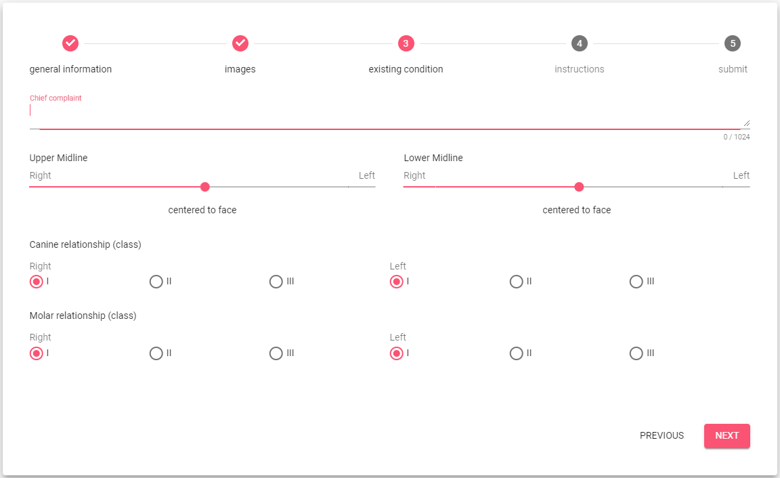
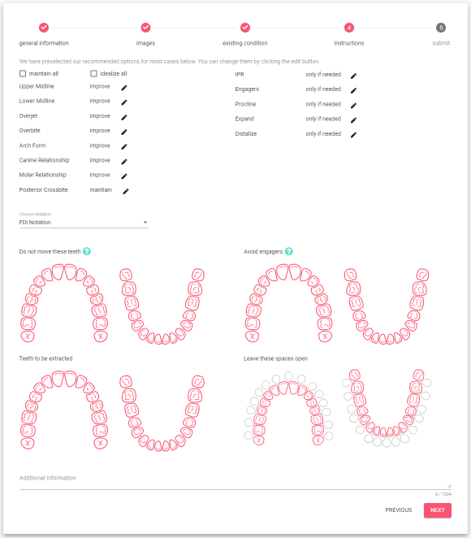
c. Complete and submit the "Create an order" workflow, be sure to confirm all the information present is correct, the scan files are present, and input any other necessary information/instructions before clicking the "Submit" button.