Virtuo Vivo - Cart : How to replace IO monitor
Virtuo Vivo - Cart : - How to replace IO monitor
Ryzen systems with Virtuo VIVO (Retrofitted systems & DWIO-08 and higher):
Version 1.0
How to check the cables:
- Turn off the system / remove from power source!
- Remove the PC cover:

- Remove the Screen cables cover:

- unplug and re-plug the cables in the good position:


Intel with Hand Piece 2 (DWIO-06 and below)
Version 1.0
1. Make sure the Intra Oral scanner cart is turn off and unplug from the wall.
2. Remove the 2 top screws behind the monitor with a Hex screwdriver.
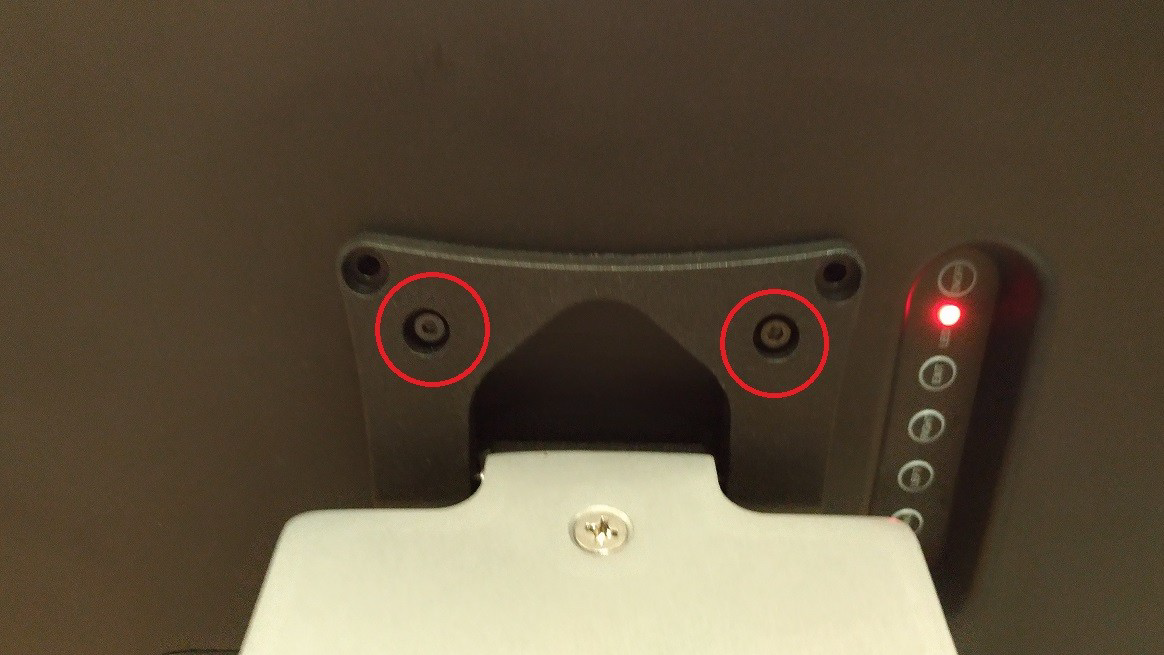
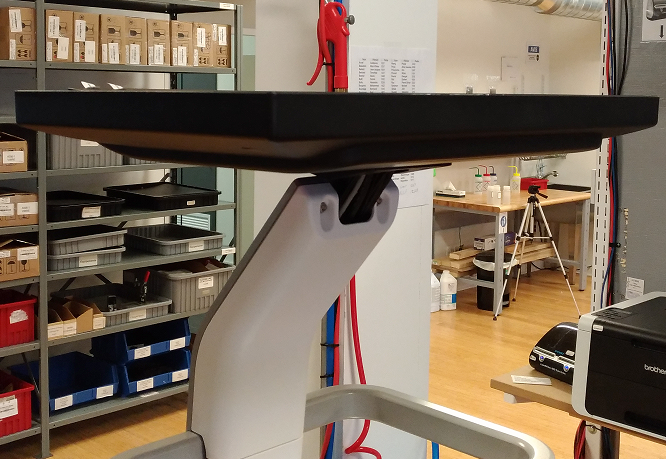
3. Tilt the monitor until the screen is facing up.
4. Remove the 2 screws that hold the monitor with a hex screwdriver and also
remove the 2 screws of the back panel of the monitor.
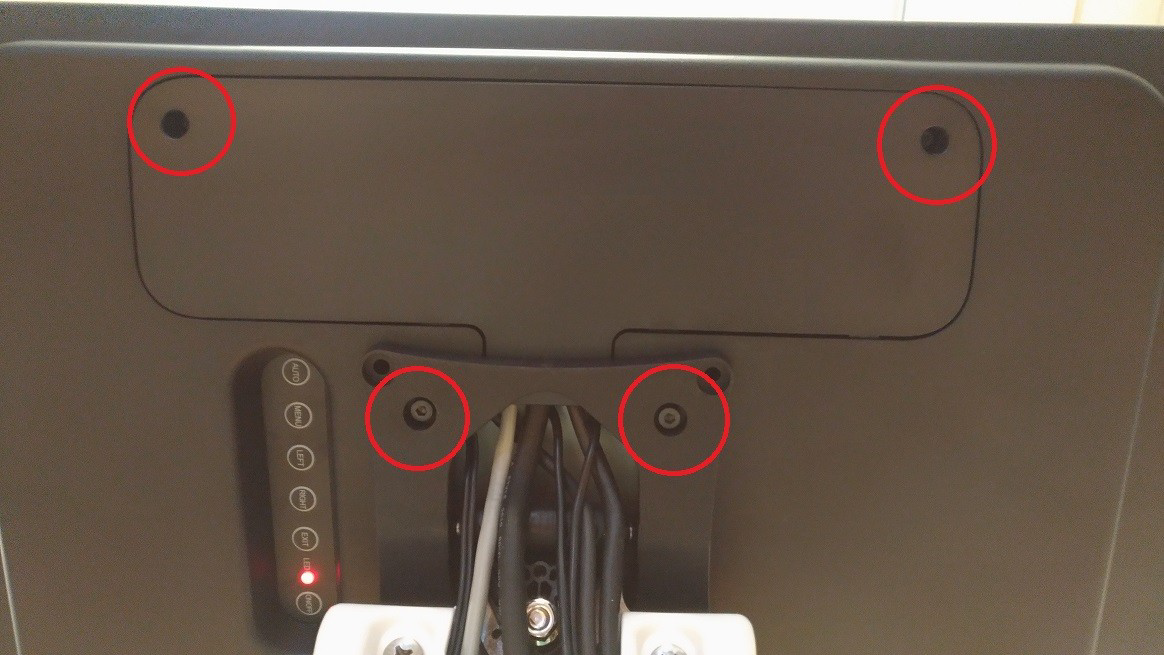
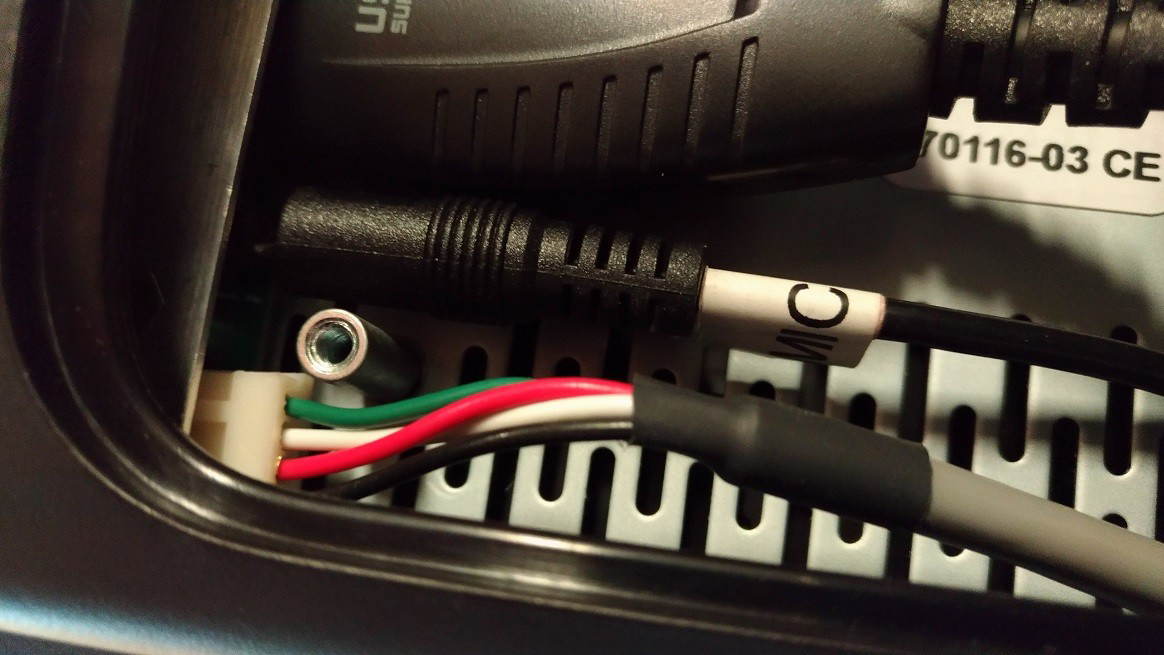
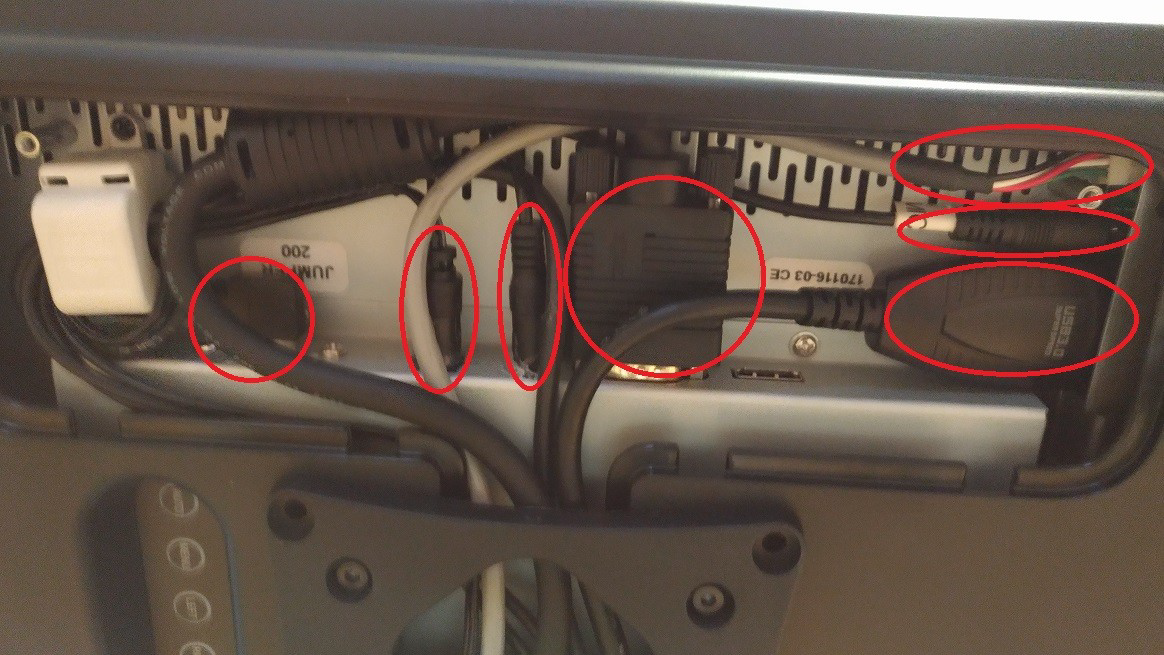
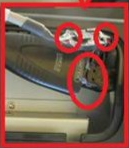
5. Unplug all 7 cables from the monitor (some older IO carts have some cables
connected differently as shown on the right picture below).
Note: If the Real sense camera included in the monitor we sent you is different
from the one you had, You will get an additional cable along with the new monitor.
See next page for more details.
6. Once all the cables are unplugged, remove them from the inside of the monitor
panel and lift the monitor. Put the new monitor the same way the older one was
and proceed with the steps above backwards.
- For monitors received with an additional cable. -
If the real sense camera in the new monitor is different from the one you had
originally, You will get an additional cable. You will need to connect this new grey
cable(3006-R1a) with the one you already have (3007-R2) to make an adapter
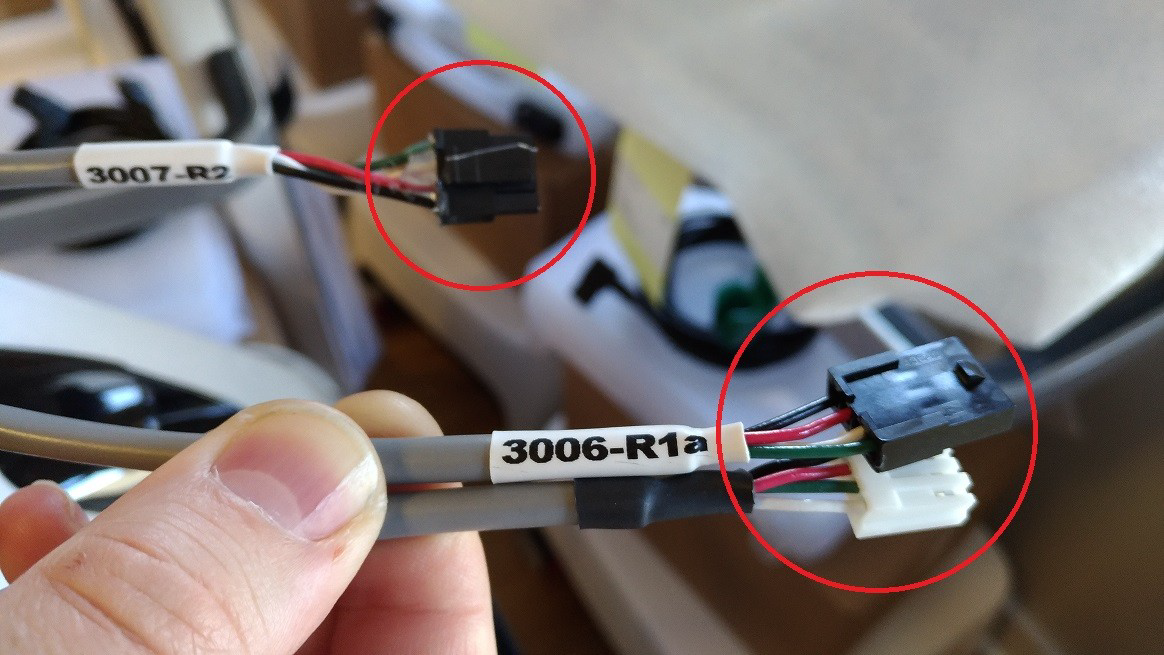
Connect the cable 3007-R2 to the black connector of the cable 3006-R1a.
Connect the white connector of 3006-R1a to the back of the monitor as shown in
the picture below.